California DTF design tips are reshaping how creators approach apparel printing, blending artistic intent with practical workflow and deliverable results. In California, these guidelines help you optimize color accuracy, reduce waste, and speed production, guiding your decisions. Applying the central approach can lead to flawless transfers with DTF across a wide range of fabrics, while minimizing reprints. This introduction sets up the subsequent sections on design considerations, prepress preparation, and a reliable, scalable workflow. This overview anchors SEO-friendly content that highlights practical steps, longer-term consistency, and reliable outcomes for your apparel projects in California today.
Shifting to alternative terms, the topic can be described as film-based transfer methods for apparel, garment decoration workflows, and print-on-film best practices used by California studios. Framing the discussion around prepress readiness, film-to-fabric consistency, and precise heat application helps practitioners deliver uniform results across fabrics. LSI principles link ideas like color management, substrate variability, cure timing, and equipment calibration to the core DTF process. This broader view supports designers and small businesses in California who want reliable, scalable outcomes beyond single-tip guidance. For a practical reference, consider the DTF printing guide as a holistic resource that maps techniques to real-world production.
Design-First DTF: Aligning Artwork for Reliable California Printing
Start with the end in mind: a design that translates cleanly to film, powder, and heat. In this phase, you’ll optimize resolution, color intent, and layout so that the final transfer preserves sharp edges and smooth gradients. Adopting a DTF printing guide mindset helps you anticipate how ink behaves on different fabrics and how films respond to curing, ensuring your California projects stay consistent from concept to curb appeal.
As you refine artwork, work in RGB for vibrant tones and plan a practical color strategy that translates well after the film is applied and cured. This is where California textile printing tips intersect with daily practice—aligning colors with garment colorways, accounting for heat-press induced shifts, and setting up the final print size with clean, scalable elements. A design that respects these constraints minimizes reprints and maximizes your chances of flawless transfers with DTF.
Prepress Readiness: File Setup, Bleed, and Font Management for Consistent Transfers
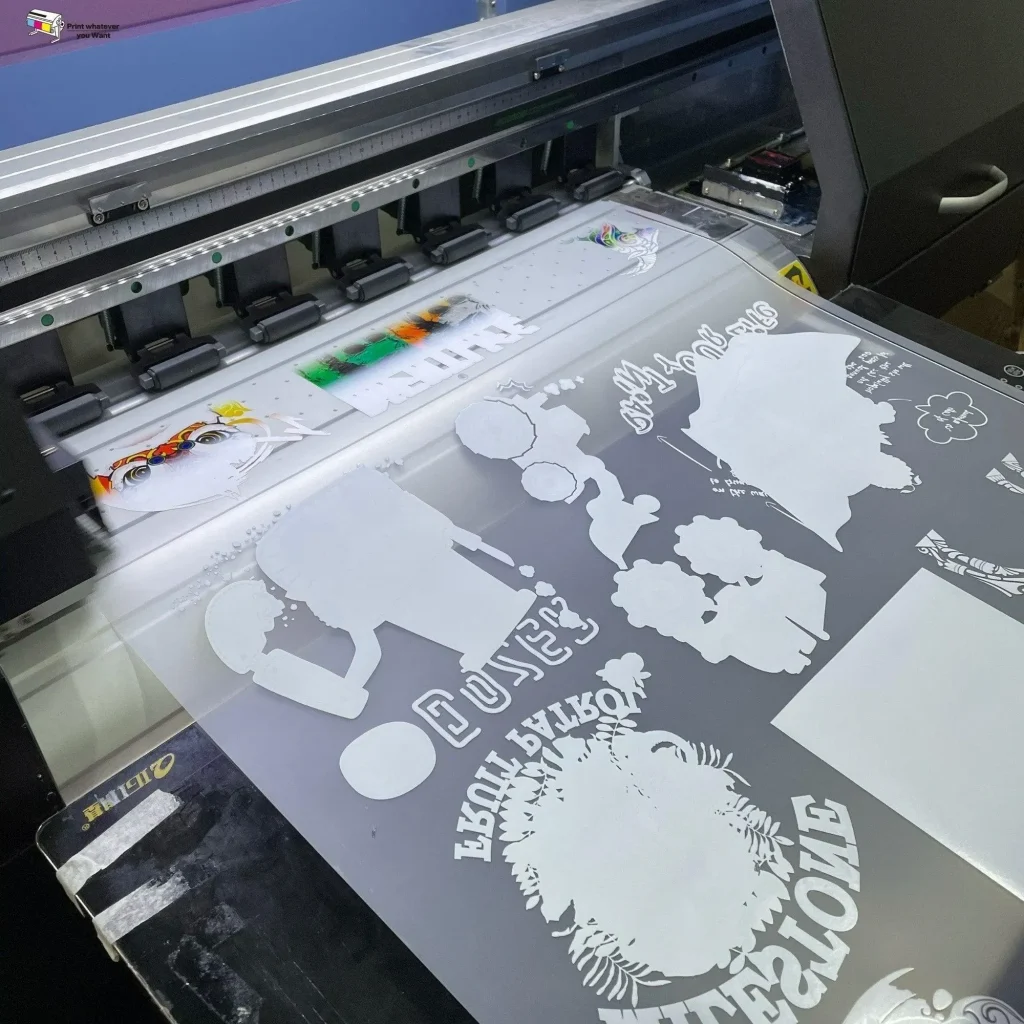
A robust prepress routine starts before any ink touches film. Prepare clean vector elements for type and high-resolution raster imagery, ensuring bleed and safe margins for edge-to-edge customization. By following a structured process, you reduce surprises on press and align with the DTF transfer tips California guidelines that keep your workflow smooth, repeatable, and scalable.
Font handling is critical: convert fonts to outlines to avoid substitutions during resizing and maintain crisper typography on fabrics. This attention to prepress details echoes the DTF printing guide’s emphasis on reliable file integrity, and it ties directly into California textile printing tips — where alignment and legibility across fabrics determine whether your message lands with impact.
California DTF Design Tips: Color, Layering, and Legibility
Color management and strategic layering are at the heart of durable, high-quality transfers. Plan separations with skin tones, highlights, and bold graphics in mind, and consider how colors will behave after the film is applied and cured. Incorporating these decisions into your California DTF design tips helps you balance depth with the film’s limitations, reducing mid-tone muddiness and preserving detail.
Typography and readability deserve special care on textiles. Choose bold, clean typefaces with sufficient contrast against the garment color, and test legibility across multiple sizes. When your design accounts for transfer behavior from the outset, you’re closer to flawless transfers with DTF and better prepared to meet customer expectations in a competitive market.
From Heat Press to Finish: Mastering Temperature, Time, and Pressure (Heat Press Tips California)
The application stage is where design intent becomes tactile reality. Use manufacturer-recommended temperatures, dwell times, and pressures, and apply the transfer with precise alignment to maintain edge fidelity and color accuracy. Embrace heat-press discipline as part of your broader workflow, leveraging heat press tips California to standardize results across different fabrics and garment types.
Curing and post-press handling are just as important as the press itself. Allow proper cooling and verify the bond strength before peeling, then assess whether a cold or warm peel is appropriate for your film type. Following these practices helps you achieve consistent results and reinforces the reliability of your DTF process, aligning with the broader goal of flawless transfers with DTF.
Quality Control and Aftercare for Durable DTF Printing in California
Quality control begins with swatch tests on similar fabrics and maintaining calibration across the printer, heat press, and curing steps. Regular checks on platen temperature, pressure distribution, and film adhesion prevent surprises in production runs. These habits echo California textile printing tips and the DTF transfer tips California framework, grounding your work in repeatable, data-backed practices.
Post-transfer care matters as much as the print itself. Educate customers on washing guidelines and garment care to extend life, and consider optional protective finishes for specialized fabrics. This focus on durability ties back to the DTF printing guide’s emphasis on long-term performance, helping you deliver reliable, high-quality results that stand up to repeated wear and washing in California markets.
Frequently Asked Questions
What are the essential steps in California DTF design tips to achieve flawless transfers with DTF?
Core steps start with designing for the DTF workflow. Use high‑resolution artwork (300 dpi or higher at final print size) and work in RGB, then convert to your printer’s palette. Prepare a clean file with proper bleed and safe margins, convert fonts to outlines, and verify color separations. Follow a reliable transfer workflow—bonding powder, curing, precise alignment, and the correct heat press temperature, time, and pressure—and finish with the specified peel. Regular calibration and adherence to your DTF printing guide ensure vibrant, durable results across garment types, embodying California DTF design tips.
How can I apply a DTF printing guide to ensure consistent results across fabrics in California?
A DTF printing guide emphasizes fabric awareness and rigorous prepress testing. Choose printers, films, and inks suited to your fabrics (cotton, polyester, blends), and manage color by starting in RGB before conversion for your workflow. Prepare artwork with bleed and safe margins, set up clean vector-type elements, and test on similar fabric swatches before production. Align your process with California textile printing tips by documenting color separations and printer settings to maintain consistency across runs.
What heat press tips California should I follow to prevent curling or misalignment?
Follow heat press tips California to ensure even results. Apply uniform pressure across the platen, position transfers carefully to avoid shifting, and use a pre‑press step to remove moisture. Adhere to the manufacturer’s recommended temperature, time, and pressure, and verify results with test pieces. Keep the press clean and calibrated to sustain consistency, a key component of California DTF design tips.
How do color management and file setup fit into California DTF design tips for vibrant prints?
Color management and file setup are at the heart of California DTF design tips. Start with 300 dpi artwork and work in RGB, then convert to CMYK or a printer-specific palette as needed. Create clean vector elements and high‑resolution raster images, include proper bleed and safe margins, and convert fonts to outlines. Plan color separations to preserve skin tones, highlights, and bold areas so prints stay vibrant and color-accurate across different fabrics.
What are common issues and how can I troubleshoot with DTF transfer tips California and California DTF design tips?
Common issues like ghosting, color fading, and curled edges can be tackled with DTF transfer tips California and California DTF design tips. Recheck cure times, ensure transfers stay flat during pressing, and verify printer calibration and ink/powder compatibility. Inspect film quality and use test swatches to validate settings before full runs. Document and repeat successful settings for different garment weights and colors to drive ongoing quality improvements.
| Topic | Key Points |
|---|---|
| Introduction | DTF printing in California blends fashion, tech, and DIY culture; aims to help go from concept to flawless transfers with design, prepress, and workflow guidance for consistency across garments. |
| Understanding the Landscape | DTF uses design on film, bonding powder, and heat-pressed transfers; offers durable, vibrant results; cost-effective with quick turnaround; good for detailed, multi-color art. |
| Defining the Focus: California DTF Design Tips | Design with the DTF workflow in mind; emphasize the practical process; reduces reprints and waste; aims for color-accurate transfers that resonate with audiences. |
| Design Principles for DTF Success | Prioritize color management and image quality: target 300+ dpi, work in RGB, convert to CMYK/spot colors per printer capabilities; balance color depth with film limits to preserve detail. |
| File Setup & Prepress Preparation | Use clean vector for text, high-res rasters for photos; include bleed and safe margins; keep critical artwork 1/4 inch from garment edge; outline fonts to prevent substitutions. |
| Color Separation & Layering | Manage how colors layer; limit non-essential spot colors if Pantone matching isn’t used; preserve skin tones, highlights, and bold areas; consider post-application translation after cure. |
| Typography & Readability | Choose bold, readable type; avoid very thin strokes; ensure contrast with garment color; test legibility across multiple garment sizes. |
| DTF Transfer Steps | 6 steps: finalize artwork with keyword, prepare film, apply bonding powder, align transfer, heat press at recommended settings, peel per guidelines, optional cold/warm peel; reduces variability. |
| Materials, Tools & Calibration | Invest in reliable printer and quality films; uniform bonding powder; calibrate heat press (temperature, dwell time, pressure); use test swatches to validate settings. |
| Troubleshooting | Ghosting, fading, or curling indicate alignment or curing issues; recheck cure time, maintain flatness, verify sensors/inks, adjust press settings. |
| Advanced Techniques | Focus on durability and washability; educate customers on care; consider protective finishes; slight parameter tweaks (higher heat, shorter dwell) to strengthen bonds without compromising image. |
| Practical Workflow | Start with clean, color-balanced files; verify color mode and bleed; test on similar fabrics; document settings for different weights/colors; clean printer heads and platens to minimize downtime. |
Summary
Conclusion: California DTF design tips mindset and practical summary.