UV DTF Transfer Materials 101 is your starting point for mastering modern transfer technology and achieving studio-quality DTF results. This guide covers UV DTF inks, DTF transfer paper, and other advanced components that define UV DTF transfer materials for studio workflows. Understanding the core components—UV DTF transfer film, UV-curable inks, and an adhesive layer—helps you predict color accuracy, edge sharpness, and wash durability. Choosing the right materials for your setup also involves matching your film, adhesive, and heat press settings for DTF to your fabrics. From design considerations to curing and care, this primer sets you up to reach reliable, professional results with every run.
In other terms, this family of products supports high-resolution fabric transfers by pairing UV-curable inks with a dedicated transfer film and a compatible adhesive system. The focus shifts from isolated components to their synergy—film quality, ink chemistry, substrate compatibility, and curing methods—that together yield crisp images on cotton, blends, and performance fabrics. Related concepts include DTF transfer paper, UV printing on textiles, and precise heat-press timing, all of which influence color fidelity and durability. By mapping these connections, readers can optimize workflows that scale from one-off designs to small runs while maintaining studio-quality results.
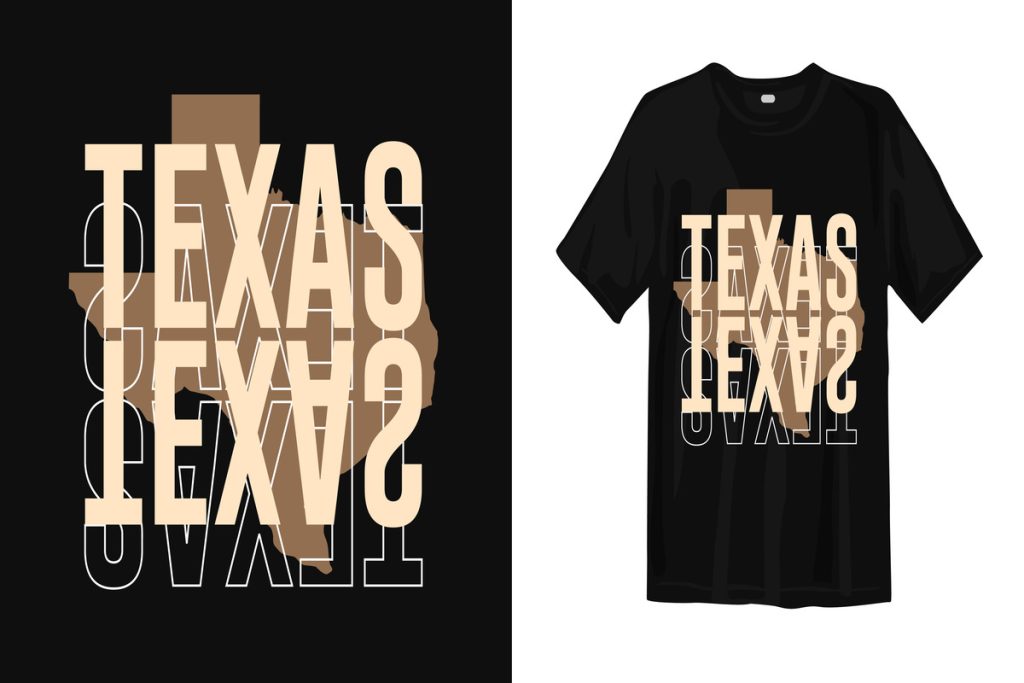
UV DTF Transfer Materials 101: Core Components for Studio-Quality Results
Understanding UV DTF transfer materials begins with the core components: film, UV-curable inks, an adhesive layer, a release liner, and optional primers or surface modifiers. These elements work together to produce vibrant, durable prints on fabrics and other substrates, enabling studio-quality DTF results that stand up to washing and regular wear. When you’re selecting UV DTF transfer materials, consider how the film’s clarity, the ink’s color gamut, and the adhesive’s bonding strength will interact to deliver sharp edges and true color reproduction.
In practical terms, you’ll typically evaluate a UV DTF transfer film for whiteness and surface uniformity, choose UV DTF inks that cure quickly and bond well to the adhesive, and pick an adhesive strategy (powder or UV-curable) that fits your workflow. The release liner must protect the print during handling and heat application, while primers can help you extend adhesion to challenging substrates. For designers aiming at studio-quality results, the goal is a cohesive system where each component complements the others, minimizing edge halos or color shifts in the final transfer.
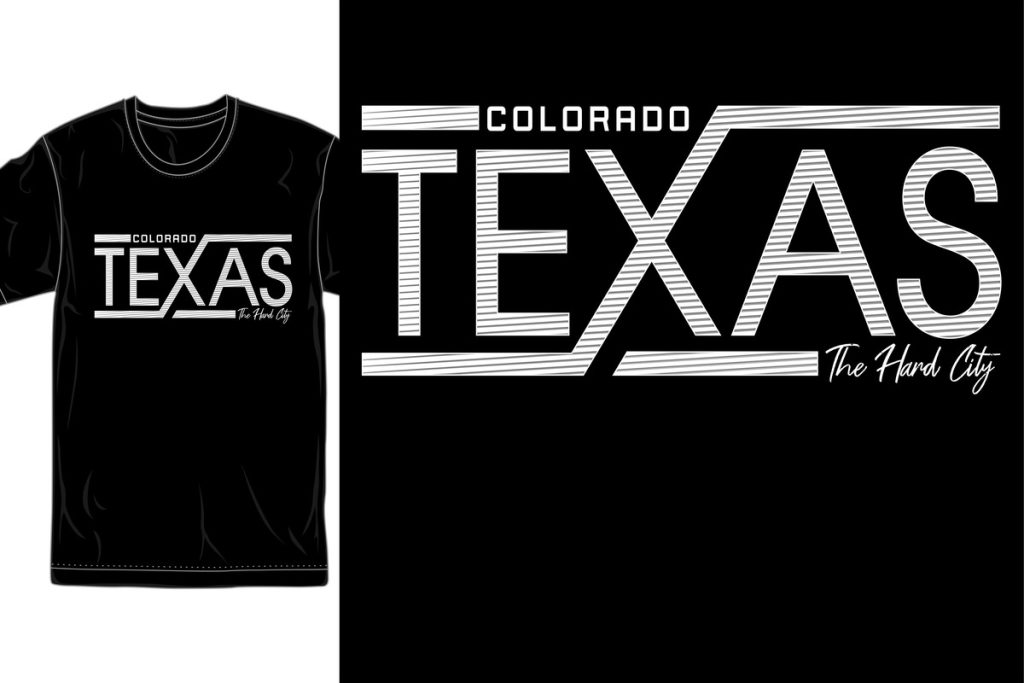
DTF Transfer Paper vs. UV DTF Transfer Materials: Choosing the Right Film and Inks
Compared to traditional DTF transfer paper workflows, UV DTF transfer materials bring faster curing times, crisper color transfer, and stronger resistance to washing. When selecting between DTF transfer paper options and UV-based films, you’re weighing ink chemistry, cure requirements, and how the substrate will respond under heat. The right combination yields more reliable, studio-quality DTF results and reduces the need for post-processing corrections.
In this decision, compatibility is key: ensure the UV DTF inks you choose are designed to pair with your transfer film and printer, and verify that the adhesive layer works optimally with the favored substrate. If you frequently work with dark fabrics or high-contrast designs, prioritize films with bright whiteness and robust color transfer, and test several options to identify the best balance between edge sharpness and garment feel.
Achieving Studio-Quality DTF Results with UV DTF Inks: Ink, Color Gamut, and Durability
UV DTF inks unlock a broad color gamut and high saturation, which are essential for studio-quality DTF results. When evaluating inks, look for fast cure speeds, strong opacity for white underlays, and durable adhesion after multiple washes. The ink compatibility with your chosen film and adhesive layer directly influences color fidelity, edge definition, and long-term brightness on textiles.
To maximize results, align ink properties with your workflow: verify that the UV DTF inks bond well to the adhesive layer, maintain stable color performance across sun and heat exposures, and consider how gradients will render on dark fabrics. Testing different ink densities and white-layer placements helps you achieve clean gradients, reduced bleed, and consistent texture across batches.
Heat and Time: Setting Heat Press Settings for DTF and Curing Protocols
Heat press settings for DTF transfers require careful calibration of temperature, time, and pressure to achieve reliable adhesion without scorching the garment. Typical ranges for UV DTF-style transfers fall around 160–180°C (320–356°F) for 10–20 seconds with medium to firm pressure, but exact values vary by film, adhesive type, fabric, and ink formulation. Start with manufacturer guidelines and progressively fine-tune through test runs on fabrics similar to your production items.
Beyond temperature, be mindful of curing or partial-curing steps if your workflow includes a UV-curable adhesive or a multi-stage cure. Consistency in platen pressure and pre-pressing helps reduce moisture-related issues and ensures a uniform transfer across multiple items. Documenting your heat press setup and test results supports repeatable studio-quality DTF transfers across different runs.
From Design to Print: Color Management and Printing Workflow for UV DTF Transfer Materials
A robust workflow begins with color-managed design. Calibrate your monitor, employ ICC profiles from film and ink manufacturers, and design with the transfer medium in mind to preserve color accuracy and edge sharpness. The inclusion of UV DTF transfer materials in your process emphasizes the need for consistent color reproduction, especially when printing on diverse fabrics and using white ink on dark substrates.
During printing, ensure proper alignment of all layers (including any white underlays) and follow the printer’s guidelines for film handling. Curing steps, if applicable, should be integrated into the workflow to lock in color and minimize smudging. Each transfer should be prepped with the correct adhesion approach and careful garment pre-press to maintain the highest fidelity from artwork to studio-quality result.
Troubleshooting and Maintenance for Consistent UV DTF Transfers
Even with careful planning, issues like color mismatch, edge halos, or poor adhesion can arise. Regularly verify ink compatibility with the transfer film and adhesive, confirm cure times, and re-check file color management and white layer placement. Addressing these variables helps preserve studio-quality DTF results and reduces waste from failed prints.
Ongoing maintenance is essential: store UV DTF films properly, clean printers and curing equipment to avoid clogs or residue buildup, and perform seasonal tests when switching substrates or ink batches. Keeping a log of heat press conditions, film lots, and ink batches enables consistent output and faster troubleshooting when production scales up.
Frequently Asked Questions
In UV DTF Transfer Materials 101, what are UV DTF transfer materials and what components do they include?
UV DTF transfer materials are the system used to move designs onto fabrics using UV-curable inks. They include UV DTF transfer film, UV-curable inks, an adhesive layer (powder or UV-curable), a release liner, and optional primers. This combination enables sharp, durable transfers and aims for studio-quality DTF results.
How do UV DTF inks contribute to studio-quality DTF results in UV DTF Transfer Materials 101?
UV DTF inks cure under UV light, delivering vibrant colors with strong adhesion and fast production times. Their color saturation and durability often exceed traditional ink sets, helping achieve studio-quality DTF results when paired with compatible film and adhesives.
Why is DTF transfer paper/film quality important for studio-quality results in UV DTF Transfer Materials 101?
Film quality affects edge sharpness, color accuracy, and whiteness, which influence final detail and opacity. A smooth, consistent base helps reproduce true colors and reduces defects, supporting studio-quality transfers.
What heat press settings for DTF are recommended in UV DTF Transfer Materials 101 to achieve reliable transfers?
Typical settings are 160–180°C (320–356°F) for about 10–20 seconds with medium to firm pressure. Always test on similar fabrics and adjust for film, adhesive, and garment type to ensure a clean, durable transfer.
How should you choose adhesive and curing methods for UV DTF transfer materials to maximize durability?
Choose between adhesive powder (melted during transfer) and UV-curable adhesive based on your workflow and equipment. Ensure compatibility with your film and ink system, then follow the manufacturer’s curing or heat-press guidelines to secure a durable bond.
What troubleshooting and color-management steps are recommended in UV DTF Transfer Materials 101 to achieve consistent studio-quality results?
If color looks off, recalibrate color profiles and verify white layer placement. Check film cleanliness, alignment, and cure times, and test on similar fabrics. Use ICC profiles and perform small-batch tests to maintain color accuracy and strong adhesion across runs.
| Aspect | Key Points |
|---|---|
| What are UV DTF transfer materials? | Definition: film, inks, adhesives, and substrates designed for transferring printed designs onto fabrics using UV-curable inks. Benefits include fast cure under UV exposure, sharp colors, and durable adhesion, enabling studio-quality results and quicker turnarounds. |
| Core components of UV DTF transfer materials | – UV DTF transfer film/substrate: PET-based, clear and smooth, with bright white anchor for white ink if needed, minimal flaws. – UV-curable inks: high color gamut, fast cure, strong adhesion. Check compatibility with film and printer. – Adhesive layer: powder (melted) or UV-curable adhesive (cured after application). – Release liner and protective coatings: keeps print flat and protected; can include anti-scratch features. – Optional primers/surface modifiers: improve adhesion on challenging or dark fabrics. |
| Choosing the right UV DTF transfer materials for studio-quality results | – Compatibility with printer/workflow: inks with print head/wavelength and film with nozzle configuration. – Film quality/whiteness: smooth surface and bright base for accurate color and clean edges. – Ink properties/color gamut: wide gamut, good opacity, durable after wash; plan for printing on dark fabrics. – Adhesive performance/transfer conditions: strong bonding at heat-press temps/times; clean release; test durability across washes. – Substrate compatibility/garment care: know fabrics that respond best; provide care instructions to customers. |
| Preparing your studio setup for UV DTF transfers | – Workspace/ventilation: clean, dust-controlled; good ventilation for curing. – Printing/curing hardware: compatible UV-curing system; calibrate cure times for consistent bond. – Heat press/temperature control: typical DTF ranges: 160–180°C (320–356°F) for 10–20s with medium-firm pressure; adjust per material. – Pre-press/post-treatment: remove moisture, align design; cure and post-press cooling; store transfers properly. |
| Process overview: from design to studio-quality transfer | – Design/color management: color-managed workflow, ICC profiles, design for transfer medium. – Printing on UV DTF film: print with UV inks, ensure white layer placement if used. – Curing (if applicable): initial/partial cure per provider instructions. – Applying the adhesive layer: powder applied and melted; or UV-curable adhesive cured with UV system. – Transfer setup/garment prep: pre-press garment, align transfer precisely. – The final transfer: apply heat, press, ensure contact, remove liner correctly, allow to rest. |
| Troubleshooting and optimizing UV DTF transfers | – Color mismatch/fading: verify ink/film compatibility, adjust color profiles, reprint with adjusted white placement. – Bleeding/edge halos: clean film surface, correct alignment, avoid overloading adhesive, verify cure times. – Poor adhesion on fabrics: test fabrics, adjust heat/pressure/cure; some blends need longer cure or higher pressure. – Texture/crackling: use more flexible adhesive/film to fit fabric movement. |
| Care and maintenance of UV DTF materials | – Storage/handling: upright in cool, dry place; seal inks; handle by edges. – Routine cleaning/checks: inspect printers/nozzles/cure equipment; remove buildup promptly. – Seasonal testing: run small tests when using materials across seasons or product lines. |
Summary
UV DTF Transfer Materials 101 outlines a practical path to studio-quality results by understanding the core components, choosing compatible materials, and optimizing your workflow. By investing in high-quality UV DTF transfer films, UV-curable inks, and a reliable adhesive strategy, you can achieve durable, vibrant designs that withstand washing and regular wear. With careful setup, testing, and ongoing maintenance, your studio can consistently produce professional transfers that meet client expectations and open opportunities for scalable production. Remember to tailor your process to the fabrics you work with, manage color profiles carefully, and follow the manufacturer’s guidance for curing and transfer settings. This approach will help you maximize the potential of UV DTF transfer materials and deliver excellent results with confidence.