
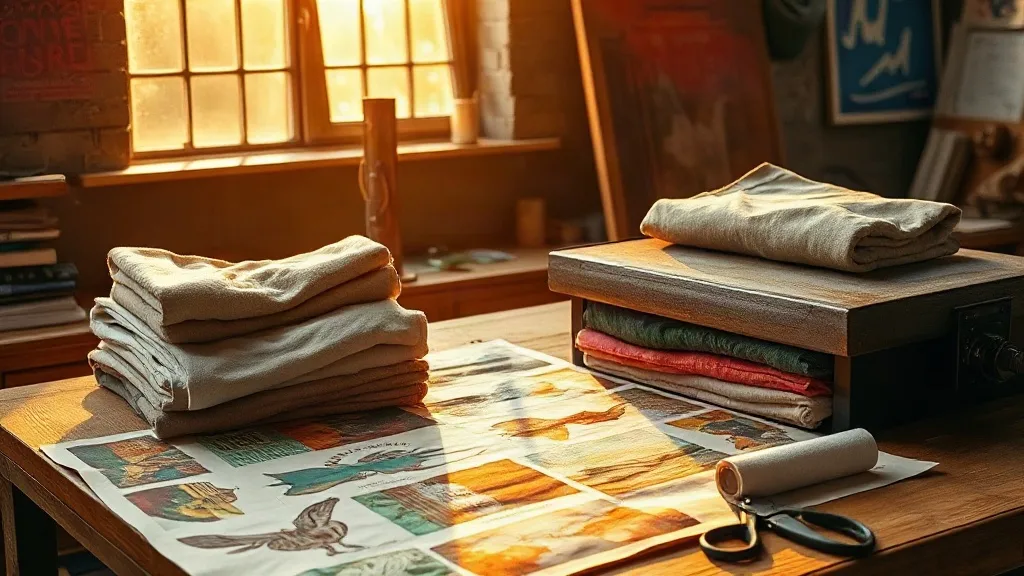
The first time a Shaka Wear tee lands on your press table, it feels different from the thin blanks most shops keep stacked by the door. There is weight in the hand, a dense knit you can feel through the platen, and a surface that does not flinch when you stretch it over a platen. That weight is exactly why so many print shops have moved toward shaka wear for their DTF work, but it also changes how you should approach layout, pressing and quality control. This playbook walks through the practical side of running these blanks at volume, based on what actually happens on a shop floor rather than what looks good in a spec sheet.
Why Heavyweight Blanks Change the DTF Conversation
Most DTF problems that get blamed on transfers actually start with the garment. A lightweight, loosely knit tee lets the platen texture telegraph through, stretches under the press, and can shrink just enough after the first wash to make a perfectly placed print look crooked. Heavier cotton behaves differently. The fabric holds its shape under pressure, the surface stays flat, and the adhesive has a stable base to bond to.
That stability matters more than most people realize. When you press a transfer onto a blank that shifts or compresses unevenly, the adhesive cures at different rates across the design. The edges might look fine out of the press and then start lifting after two or three washes. On a heavier blank, the pressure distributes more predictably, which means fewer callbacks and fewer reprints eating into your margin.
The Hand Feel Question
There is a tradeoff worth naming. Heavyweight cotton can carry a slightly stiffer hand feel, especially before the first wash. Some customers love that structured, streetwear look; others expect a soft, broken-in feel straight out of the bag. If your client base skews toward the latter, a quick wash cycle on a sample before you commit to a large order tells you more than any product description. Run one shirt through a cold wash and low tumble, then press your transfer and compare it to an unwashed version. You will see the difference in drape immediately, and you can set customer expectations before the order ships.
Setting Up a Gangsheet Around Shaka Wear Sizes
Where heavyweight blanks really reward good planning is in gangsheet construction. Because these tees hold their dimensions well, you can build layouts around consistent placement and trust that the print lands where you intended across a size run. That consistency is the whole point of a DTF Gangsheet Builder: you lay out multiple designs on one sheet, nest them efficiently, and cut waste instead of cutting into profit.
A few layout habits make a real difference with this category:
- Group designs by size range so you can press a full run without reconfiguring the platen between shirts.
- Leave a consistent margin between transfers. Tight nesting saves film, but it makes trimming slower and raises the risk of nicking a neighboring design.
- Keep left chest and full back designs on separate sheets. Mixing them forces you to reposition the shirt constantly, and repositioning is where placement errors creep in.
- Build in a spare. If a sheet yields twenty transfers, plan for twenty two. One mispress or one trimming slip should not stall a production run.
The gangsheet builder itself is worth learning properly. Once you understand how it handles spacing and repeat placement, you can produce a sheet in a fraction of the time it takes to arrange files manually, and the output stays consistent from order to order.
Press Settings That Actually Work
Every shop develops its own numbers, and every press behaves a little differently. Still, the general approach for heavyweight cotton blanks follows a similar shape. Pre press the garment for a few seconds to drive out moisture, let it cool briefly, then press the transfer at a temperature in the range your film and powder manufacturer specifies, usually somewhere around 150 to 160 degrees Celsius. Medium to firm pressure, a short dwell, and a clean peel once the sheet has cooled slightly will get you most of the way there.
The variables that trip people up are moisture and pressure consistency. A damp shirt traps steam under the transfer, and that steam is what causes the cloudy, bubbled look that never washes out. Pre pressing solves most of it. On pressure, check your platen padding every few hundred shirts. Foam compresses over time, and a worn pad means uneven contact that shows up first at the edges of large designs.
Cold Peel Versus Hot Peel
Follow the film spec here rather than habit. Cold peel films generally give a cleaner edge on detailed artwork, while hot peel films speed up production on simple block designs. If you are running a mixed gangsheet, test a corner of the sheet before you commit the whole run. A thirty second test beats a reprint every time.
Wash Testing Without Wasting Shirts
Wash testing is the part most shops skip when they get busy, and it is the part that protects them when a customer complains. Keep one pressed sample from each new film batch or powder change. Wash it three times, inside out, cold, with a normal detergent load. Check the edges after each cycle and note what you see.
What you are looking for is edge lift, cracking across large solid areas, and any change in the hand feel of the print itself. If a sample survives three washes without lifting, it will almost certainly survive thirty. If it starts to lift after the first wash, you have a pressure, temperature or moisture problem, and it is far cheaper to find that on a sample than on a five hundred piece order.
Common Mistakes and How to Avoid Them
A few recurring issues show up again and again when shops move to heavier blanks:
- Skipping the pre press. Heavy cotton holds more moisture than people expect. Ten seconds of pre pressing saves hours of reprints.
- Over pressing. More time and heat is not better. It flattens the print, dulls the colors and can yellow the adhesive.
- Ignoring the platen. A worn pad or a dirty surface transfers texture straight into the print.
- Mixing film batches without testing. A new roll can behave differently even from the same supplier. Test before you run production.
- Storing finished shirts flat and stacked. Fresh prints need to cool and settle before they are folded and bagged, or the adhesive can bond to the shirt above it.
Building a Repeatable Process
The shops that get the most out of these blanks are not the ones with the fanciest equipment. They are the ones with a written process: a pre press step nobody skips, a press setting logged per film type, a wash test on every new batch, and a gangsheet layout that leaves room for error. Once that process is in place, the blank stops being a variable and becomes a constant, which is exactly what you want when you are quoting a large order and need to know your numbers.
Frequently Asked Questions
Do heavyweight blanks need a different press temperature than standard tees?
Usually not a different temperature, but they do need a proper pre press. The extra fabric density means more moisture can be trapped, so give the garment a few seconds of heat before the transfer goes down and let it cool briefly before pressing.
How many transfers should I plan per gangsheet for a size run?
Plan by size group rather than by total count. Build one sheet for small and medium, another for large and up, and add a spare or two per sheet. Grouping this way keeps your platen setup stable and reduces placement errors.
Why does my print look dull after pressing on heavier cotton?
Dullness usually points to too much heat or too long a dwell. The adhesive can over cure and the print surface flattens. Drop the dwell by a couple of seconds and check your pressure is even across the platen before changing anything else.
Can I press a full back design on a heavyweight tee without stretching it?
Yes, and the heavier knit actually helps here because it holds shape under pressure. Load the shirt evenly over the platen, smooth from the center outward, and avoid pulling the hem to force alignment. If the shirt fights you, the platen size is probably wrong for the garment.
How do I know if a new film batch will work with my current settings?
Press one sample from the new batch using your standard settings, then wash it three times. If the edges hold and the colors stay sharp, you are clear to run production. If anything lifts or fades, adjust one variable at a time and retest.